

Table of contents
In this guide, you will learn what Open Server Panel is, how to install it on a local computer, and how to install the Joomla CMS distribution on Open Server.
Open Server Panel (also known as OSPanel) is an alternative to the popular local web server emulator known as Denwer. Considering that the latest Denwer version, version 3, is outdated due to the lack of newer versions of PHP, MySQL, and Apache required by modern dynamic websites, Open Server Panel is a better local server solution for creating and testing Joomla CMS websites.
How to install OSPanel 6 on a computer?
- Download the latest version of Open Server Panel from the official website.
- Run the downloaded installer (EXE file).
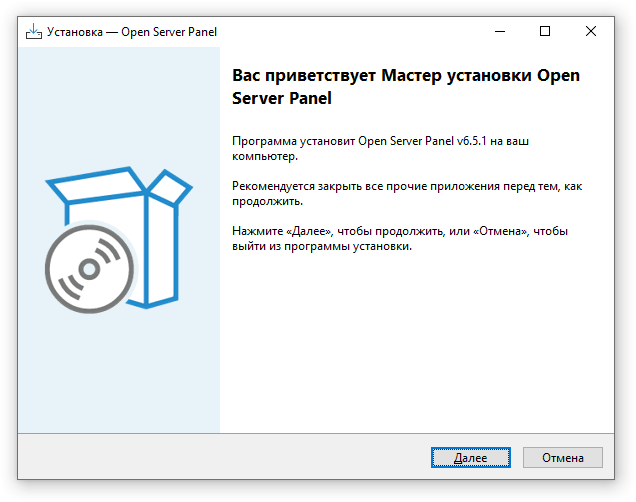
- In the welcome window, click Next.
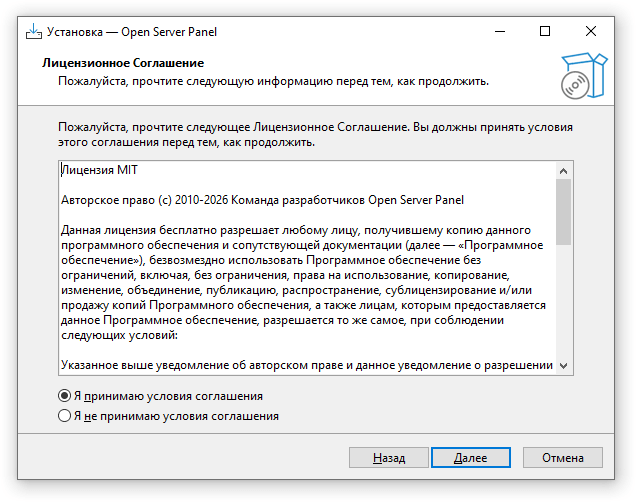
- Select I accept the agreement and click Next.
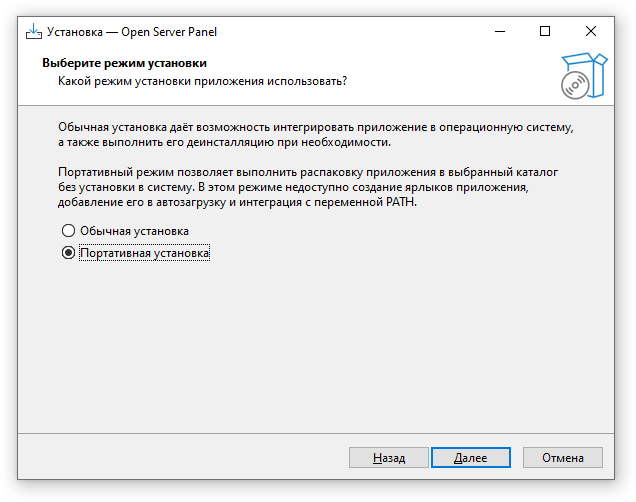
- Select the installation mode: Normal installation or Portable installation.
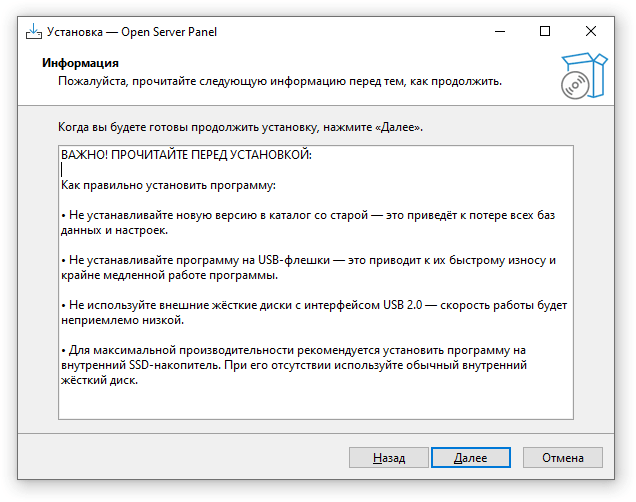
We will use Portable installation, which installs the program into a selected directory without integrating it into the operating system. With this installation mode, you can transfer your data and continue using OSPanel on another computer simply by copying the contents of the directory. - Review the installation recommendations and click Next.
- Select the installation directory and click Next.
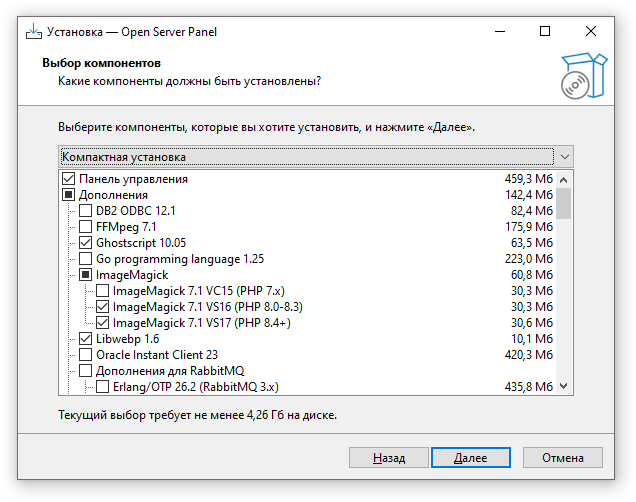
- Select the components to be installed and click Next.
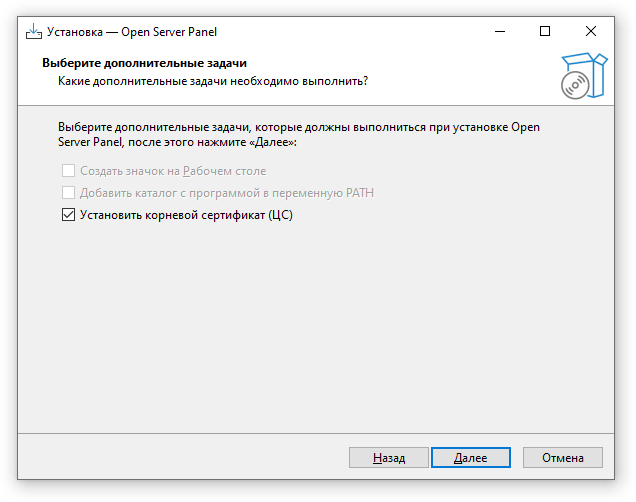
To work with Joomla CMS websites, select Compact installation. - In the Select Additional Tasks window, make sure the Install the Root Certificate (CA) option is selected. The remaining options will be unavailable with a portable installation. Click Next.
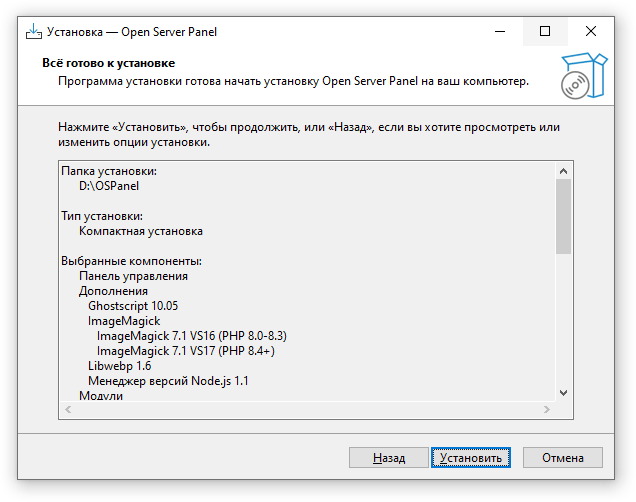
- The Ready to Install window will open. Click Install.
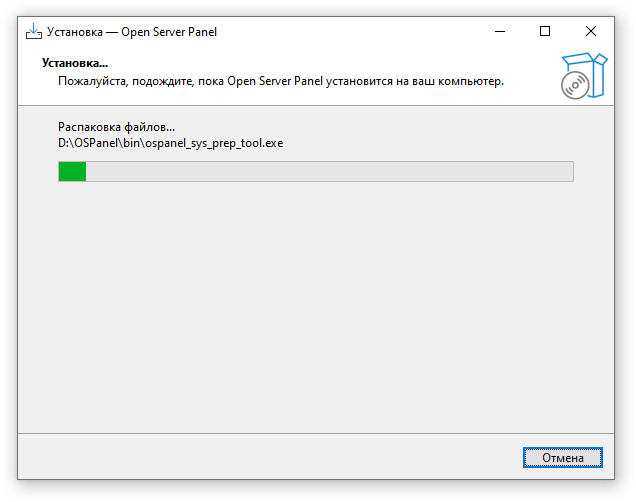
- The installation process will then begin and its progress will be displayed in a dialog window.
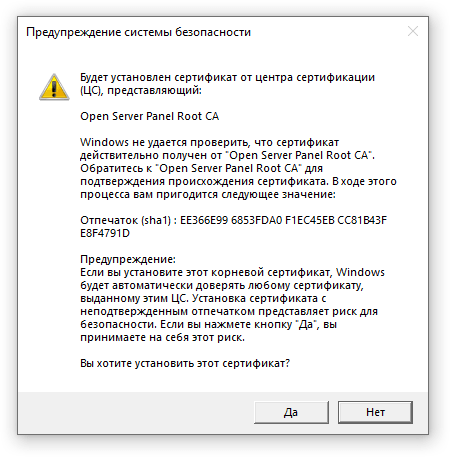
- During installation, a dialog window will appear asking you to confirm the certificate installation. Click Yes.
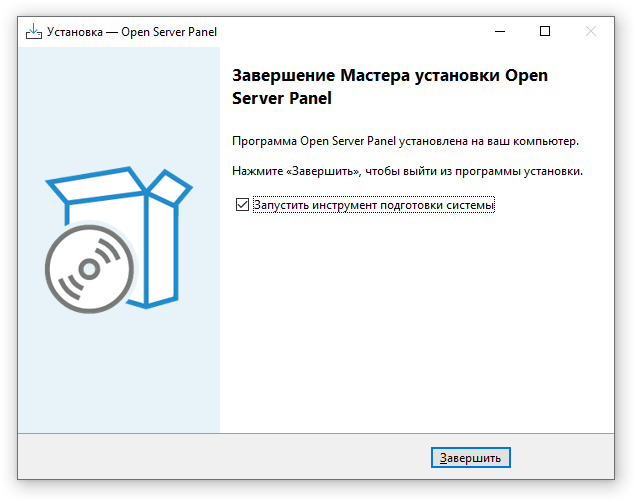
- After installation, the Completing the Open Server Panel Setup Wizard window will appear. Make sure the Launch the System Preparation tool option is selected and click Finish.
- If a dialog window appears asking for permission to allow this software to make changes to your device, click Yes.
- In the License Agreement window, select I accept the agreement and click Next.
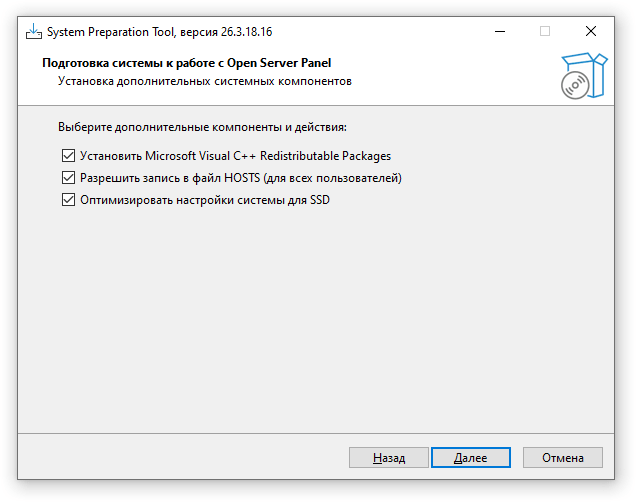
- In the Preparing the system for working with Open Server Panel window, select all checkboxes. If OSPanel is not installed on an SSD, you do not need to select Optimize system settings for SSD. Click Next.
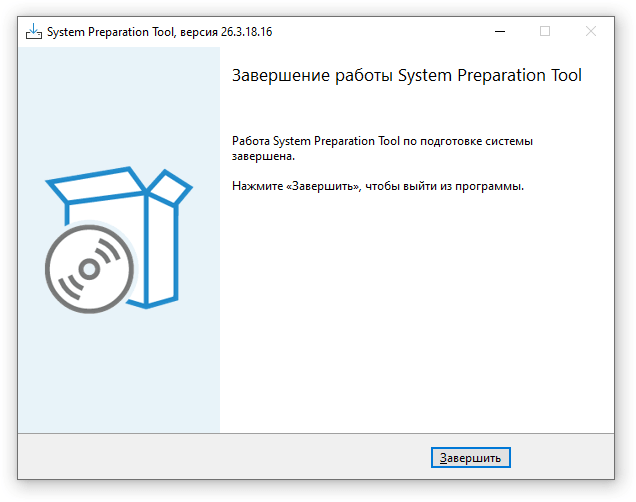
- After the additional software has been installed, the Completing the System Preparation Tool Setup Wizard window will appear. Click Finish.
OSPanel 6 installation is now complete. Restart your computer before continuing.
How to launch Open Server 6 on a computer?
After successful installation and restarting Windows, our local server environment is ready to use. Open Server Panel can be launched using the ./bin/ospanel.exe file in the program directory. However, to work with dynamic Joomla websites, we still need to activate the required modules: Apache, PHP, and MySQL.
Activating the Apache and PHP modules
- Find and run the
./bin/ospanel.exefile.
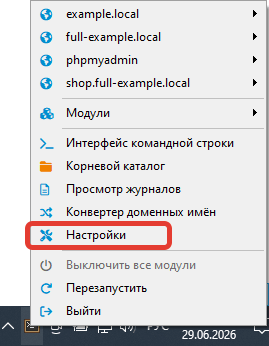
The Open Server Panel icon will appear in the Windows notification area. - Right-click the Open Server Panel icon and go to Settings.
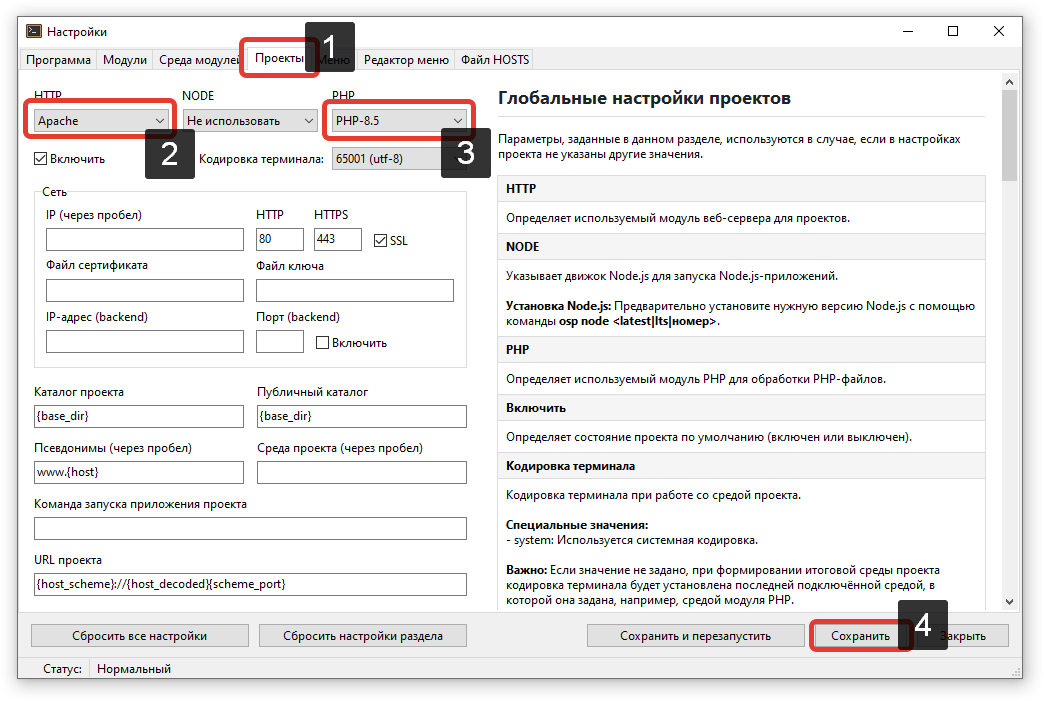
- Go to the Projects tab, select Apache as the web server module and the required PHP version (8.5 for Joomla 6). Make sure the Enable option is selected, then click Save or Save and restart.
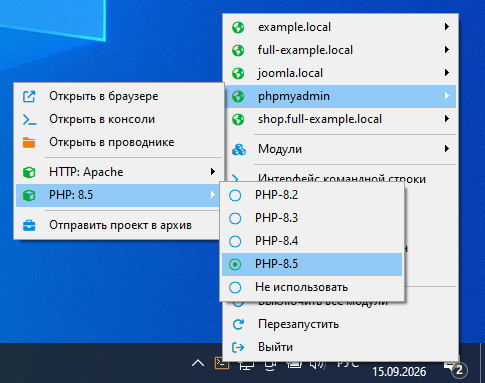
- Activate the same modules for the existing phpMyAdmin project using the program menu.
Activating the MySQL module
Now we need to activate the module used to work with databases. We will use MySQL 8.4:
OSPanel menu → Modules → MySQL → MySQL-8.4 → Turn on.
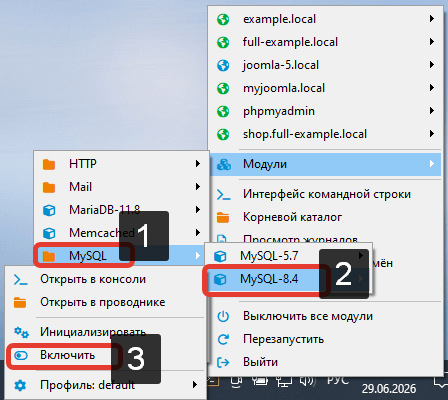
You can now use the MySQL 8.4 server to work with databases.
By default, the root user with an empty password is used (these are the credentials you can specify in the database settings when installing Joomla).
To check the database server:
OSPanel menu → phpMyAdmin → Current server → MySQL-8.4 (root).
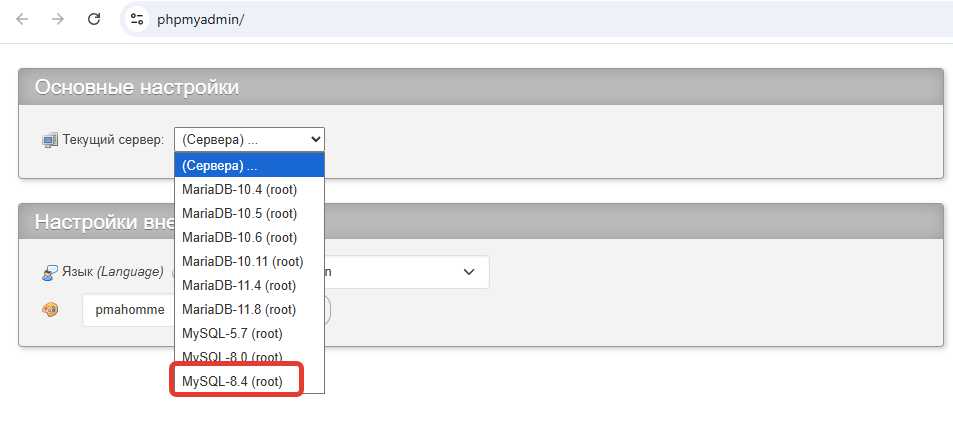
The phpMyAdmin home page should open.
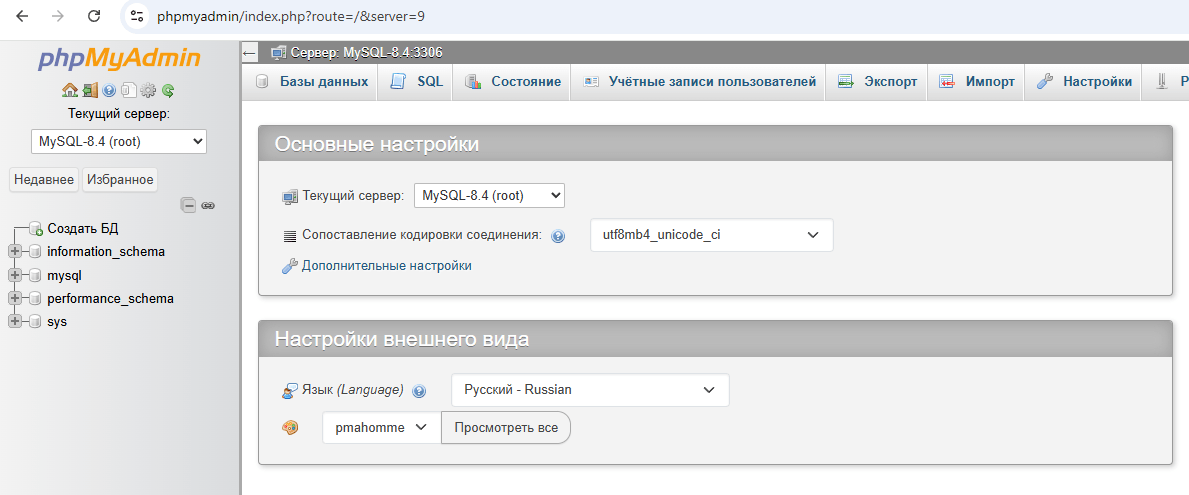
Possible issues:
- If an error page opens, the required MySQL-8.4 module has not been activated (see above):
OSPanel menu → Modules → MySQL → MySQL-8.4 → Turn on.
- If the page still does not open after activating the module, check whether the PHP module is enabled for phpMyAdmin in the project list:
OSPanel menu → phpMyAdmin → PHP → The required module must be selected (any PHP version will work).
- If the required module is not in the module list, it was not selected for installation before OSPanel was installed.
How to add a website (project) to Open Server 6?
We have prepared the working environment and can now create and deploy our websites in it. To create a new website (project):
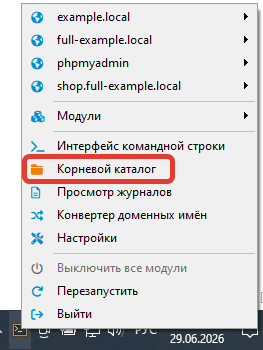
- Open the OSPanel menu by clicking the program icon and select Root directory.
- Open the
/homefolder, which already contains several project folders created by default.
For quick access: OSPanel → Root directory. - Create a subfolder for the new project, for example:
myjoomla.local. - Inside the
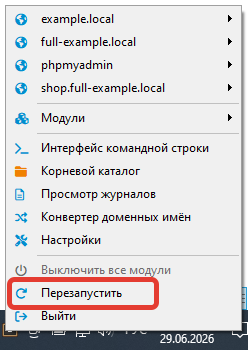
myjoomla.localfolder, create a.ospsubfolder. - Restart OSPanel from the program menu so that the program can detect the new project.
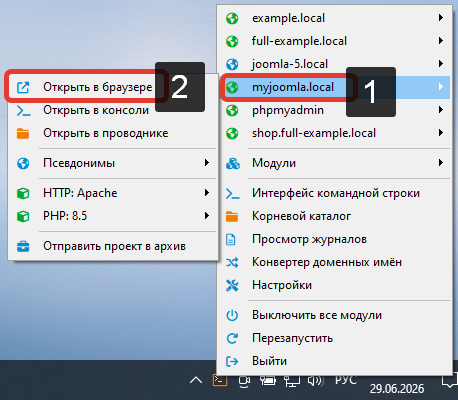
- After restarting, the new project will appear in the project list in the program menu. You can open it in a browser from the menu. A blank page will open because the project folder does not contain any files yet.
How to install Joomla on Open Server 6?
Now let's deploy Joomla in our myjoomla.local project:
- Download the latest version of Joomla to your local computer.
You can download it here. - Extract the Joomla distribution archive into the project folder
./home/myjoomla.local.
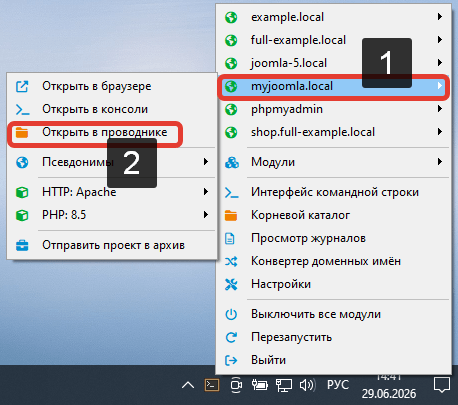
You can open the project folder from the OSPanel 6 menu. - Open the project in your browser at
https://myjoomla.local
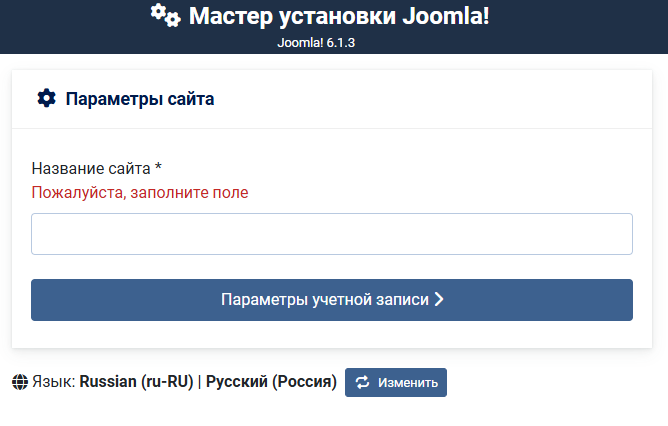
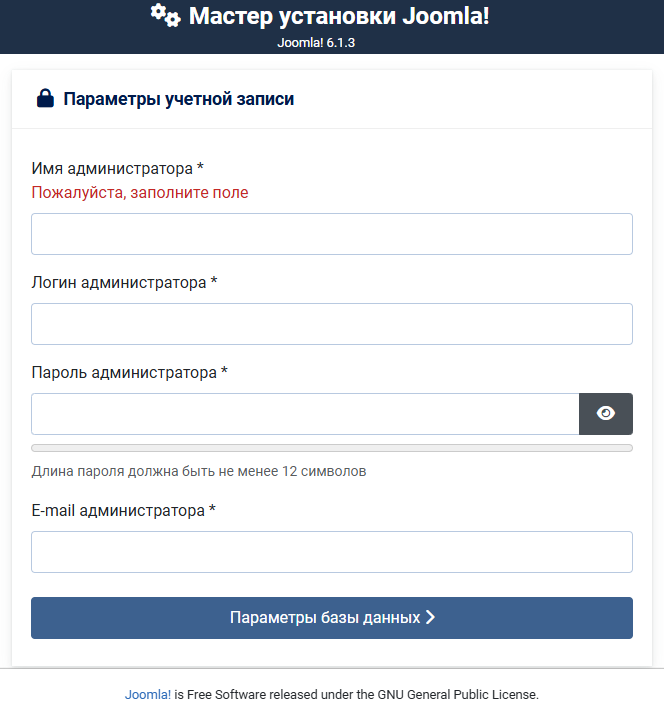
The Joomla installation wizard will open. Enter the site name and, if necessary, select the installation language. - Enter the site name (you can change it later) and click Setup Login Data.
- On the next page, enter the required Super User details that you will later use to log in to the Administrator, and click Setup Database Connection.
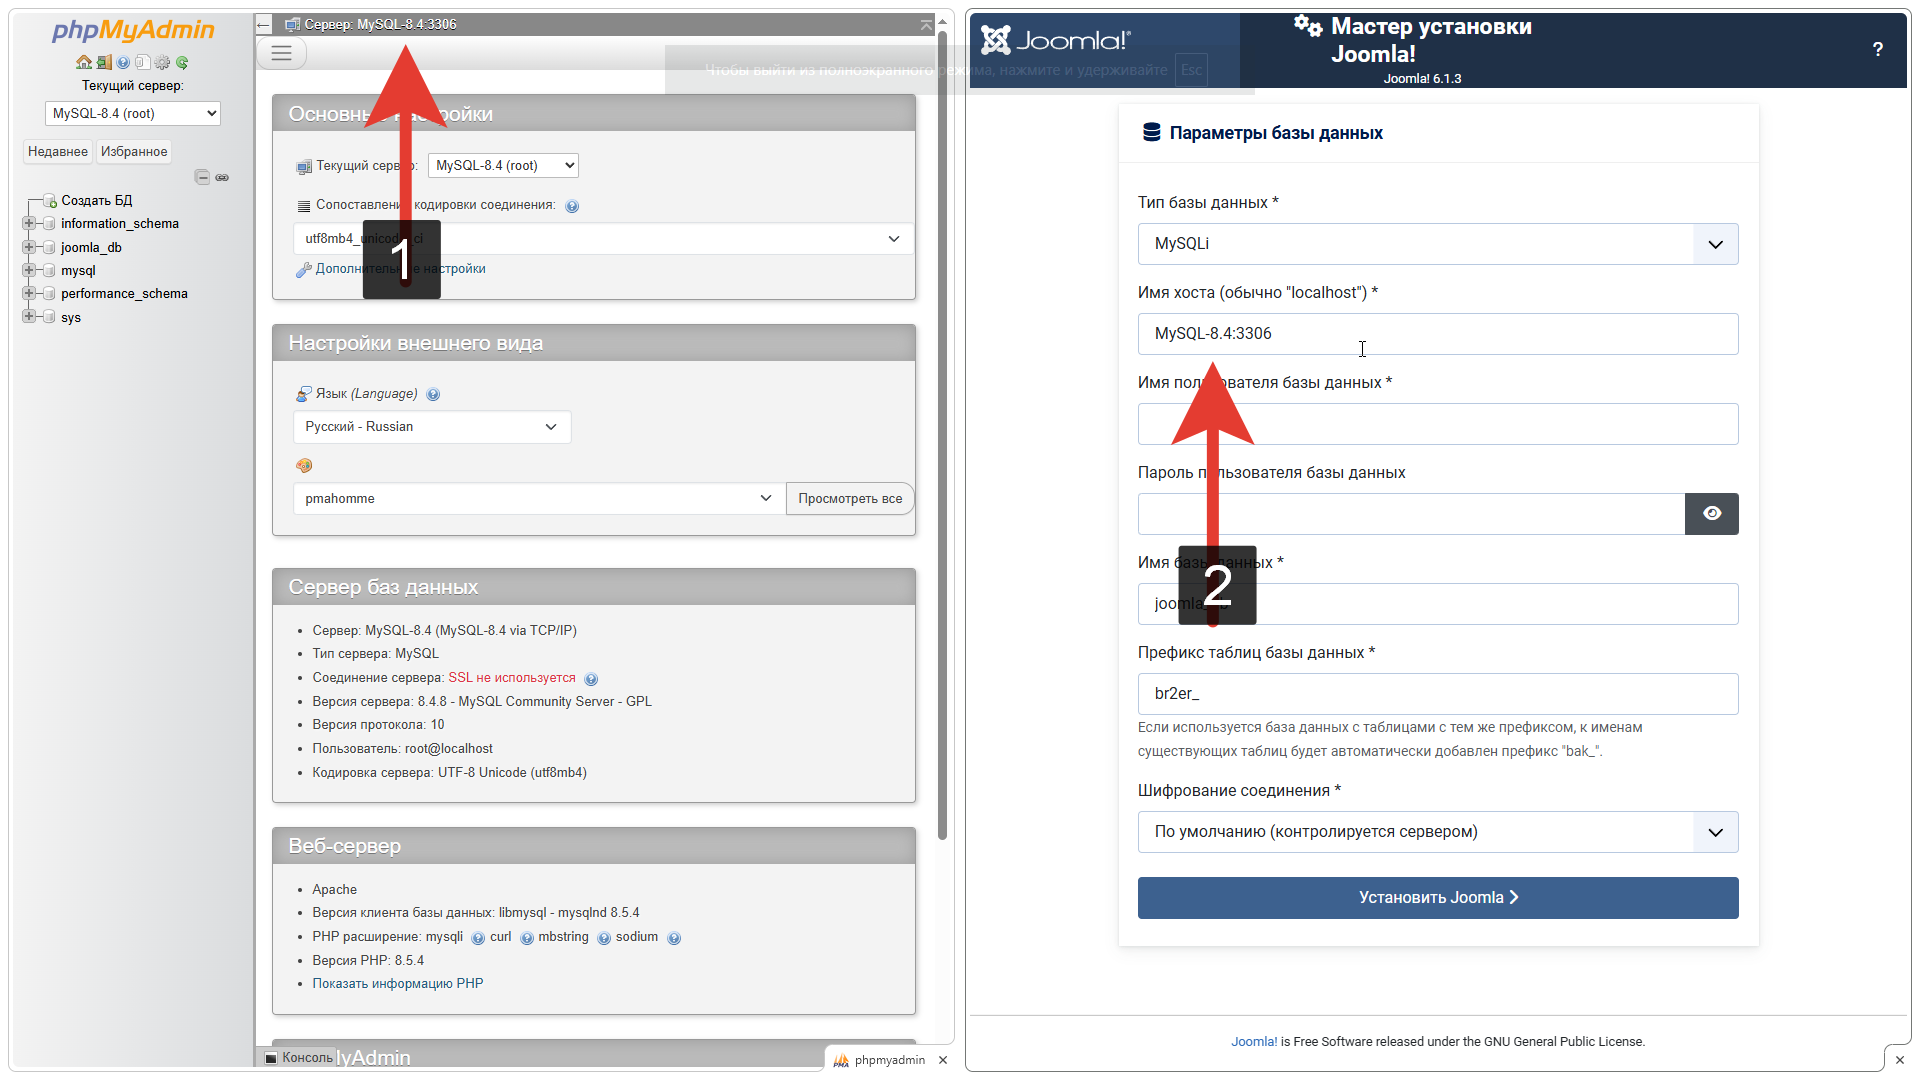
- On the next page, enter the database connection details. There are several important points here:
- The Host Name field indicates that the host name is usually localhost. However, in our case you need to enter a different value: the name of the MySQL server being used, which you can copy from phpMyAdmin.
- In the Database Username field, you can enter root. In this case, you do not need to fill in the Database Password field. This way, you will use the database server's root user, which has all privileges enabled.
- When using the root user, you do not have to create the database in advance: if you enter the name of a non-existent database in the Database Name field, it will be created automatically.
- The Host Name field indicates that the host name is usually localhost. However, in our case you need to enter a different value: the name of the MySQL server being used, which you can copy from phpMyAdmin.
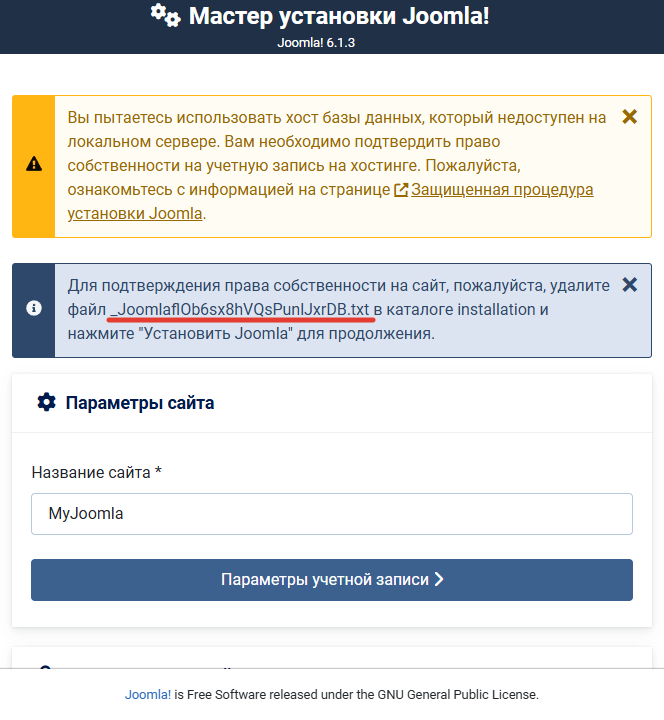
- After completing all fields, click Install Joomla. If, at the next stage, you are taken to a page with notifications (see the screenshot), find the filename specified in the second notification and delete that file from the installation folder of your project. Then return to the installation page and click Install Joomla again.
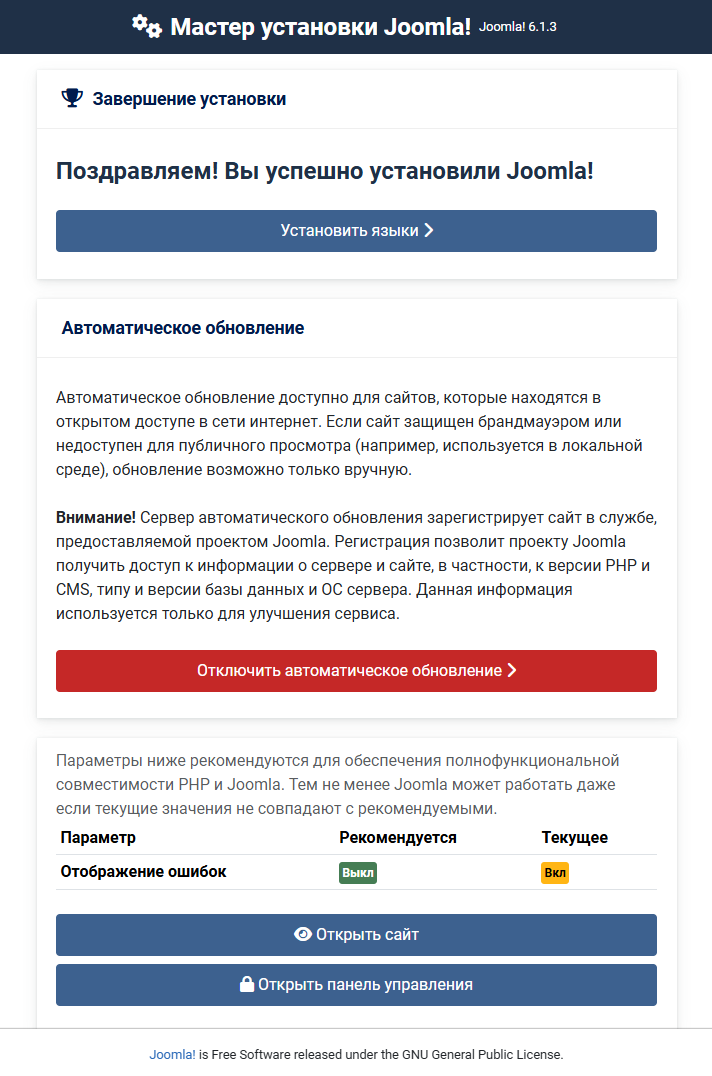
- If everything has been done correctly, Joomla will be installed and you will be taken to the completion page, from which you can click Open Administrator and continue configuring your new website.
Terms used:
Apache, CMS, MySQL, Open Server, PHP, phpMyAdmin, Menu